

How to Clean a Copper Water Dispenser
Complete maintenance guide for pure copper tanks, brass taps, and silicone seals.
⏱️ 5-Minute Routine
🚰 Tank & Brass Tap Maintenance
🛡️ Weekly Hygiene Check

Step-by-Step Dispenser Maintenance
 Step 01
Inspect Tap & Empty Vessel
Empty remaining water completely. Notice the natural patina and mineral water marks from daily use. Unscrew the brass tap retaining nut from inside the tank and inspect silicone washers for sediment.
 Step 02
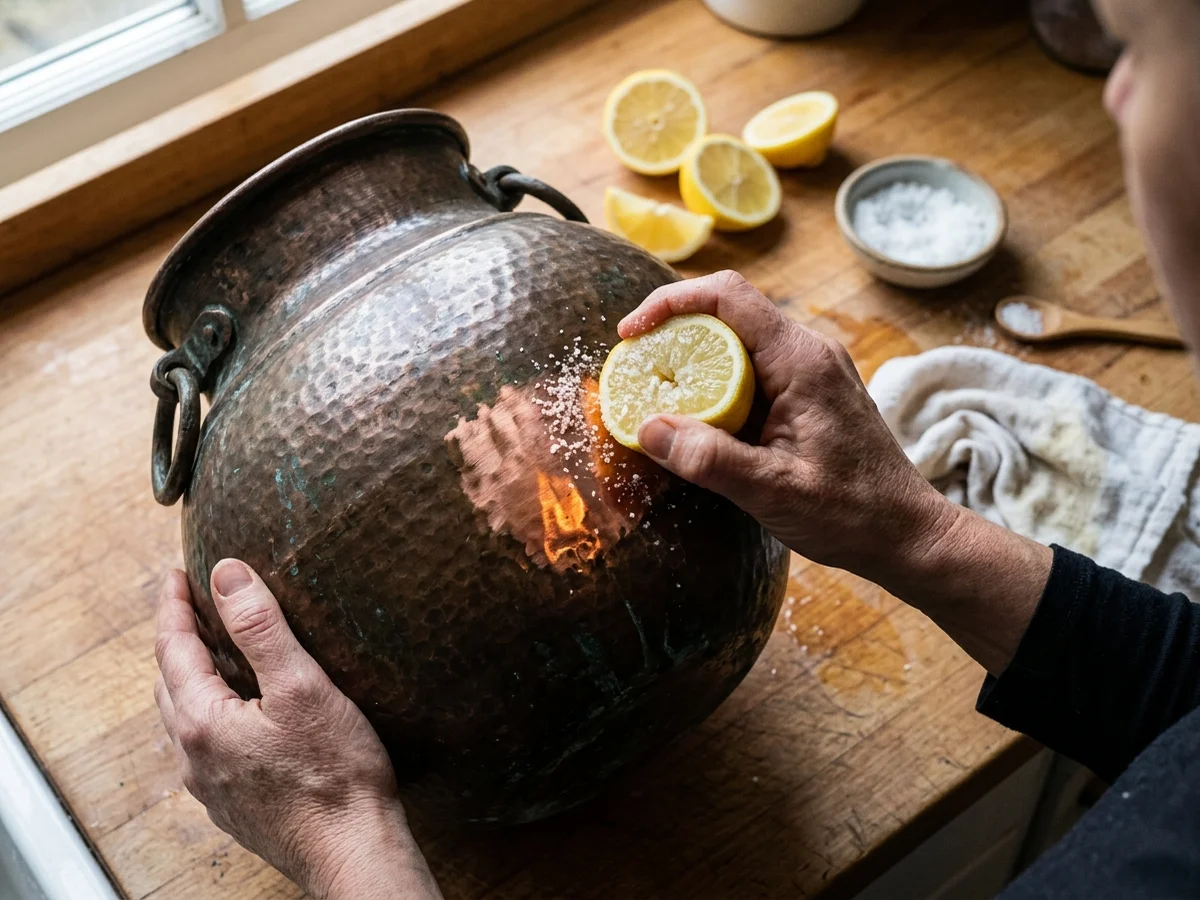
Natural Lemon & Salt Rub
Gently rub a fresh lemon half sprinkled with fine rock salt (or Pitambari paste) in circular motions across the exterior and interior walls of the dispenser pot. Surface oxidation vanishes in seconds, revealing bright glowing copper.
Step 03
Rinse, Dry & Leak Check
Rinse away residue with clean water and immediately wipe bone-dry with a soft microfiber towel. Reinstall the brass tap snug by hand. Fill with 1 litre of water on a dry cloth for 10 minutes to verify a perfect seal.
Dispenser Do's & Don'ts
✓ DO
Proper Handling
- Stable Stand: Always place on a flat, sturdy stand or counter that supports the full filled weight (5L = ~6 kg, 8L = ~10 kg).
- Flush Tap: Periodically run warm water through the open brass tap to prevent mineral buildup.
- Weekly Air-Dry: Allow the tank to air-dry completely without lid for 2 hours once a week.
✕ NEVER
Things to Avoid
- No Pliers on Tap: Hand-tighten tap only. Using wrenches can deform the copper wall or strip threads.
- No Acidic Liquids: Never store lemon juice, citrus infused water, tea, or soda inside unlined copper dispensers.
- No Abrasive Scrubbers: Wire mesh scratches hand-hammered indentations.